Showing posts with label Crafties. Show all posts

Sunday, October 26, 2014

Lighted Monster Bottle Halloween Decorations

DIY Up-Cycled Wine Bottles to Halloween Decorations

I found a really cute idea on Pinterest the other day but of course being the resourceful gal that I am I tweaked it a bit to fit the supplies I had on hand.

Here is the original pin I saw that inspired these.

And here are the ones I made,


Lighted Monster Bottles


Aren't they so cute!?! I just live then, and the kids could even helps me them. That was the best part.

Supplies:
• empty wine bottles
• old Christmas lights
• tissue paper in different colors
• black and white card stock
• google eyes (if desired)

ok, so you will start off with your empty wine bottles.

Then you will want to soak them in water for a few minutes.  This will loosen the glue so you can get the labels off.  

Remove the labels...
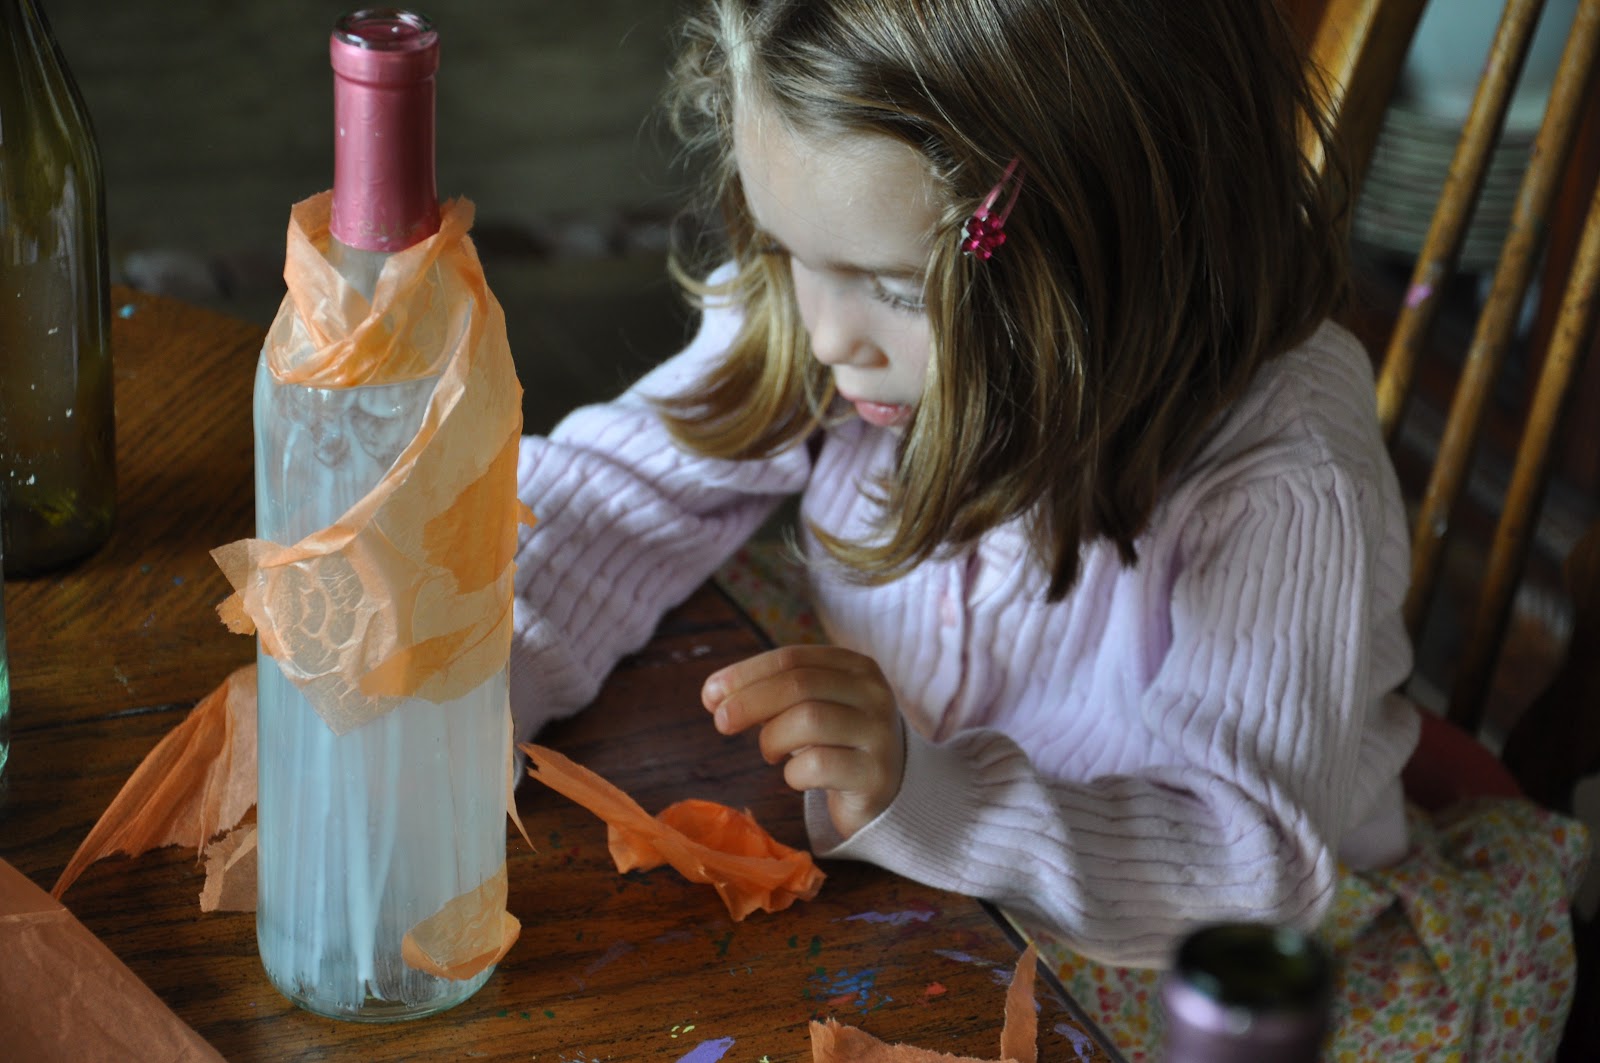
 Paint them with your Mod Podge and start covering with tissue paper.

Make some funny faces on your bottles with your card stock.  You will want to stick with simple shapes that will be seen easily since it will be back lit.  

 Add google eyes if you like, just to give them more character when they are not lit up.  

Now take your old christmas lights... 

 and start stuffing!  This is the most time consuming part...


 but aren't they worth it?  
I just love them and little one really loved working on a craft project with mommy!  I think they look so cute up there, I have them on my mantle.  I can't decide if I want to keep them there or if I will move them near the front door on Halloween but I suppose I have a little time to decide.

Halloween is getting closer and my kids are getting excited already.  Do yours know what they want to be yet?

-Sarah

Thanks so much for stopping by! If you liked Yuen Yarn, check out some of our older posts, Like us on FacebookFollow Me on Pinterest ,visit our ETSY shop or come see our website www.yuenyarn.com.

Wednesday, October 22, 2014

Witch Finger Halloween Snacks (for all your party needs)

Halloween Classroom Healthy Snacks

Ok, It's almost halloween again and I really just LOVED this post, so I wanted to share it with you all again!  They were super fun to make and really didn't take all that long.  I'm totally going to make them again for class treats this year!  So, without further ado, here they are!
  

It is finally halloween!  Are we ready for this?  NO!  But it is here anyway, what are you going to do, right?  

So Charly is having a pumpkin carving party at school but it was requested that we not bring sweet snacks.  After some searching and experimenting I finally came up with these little witch fingers to bring for the kiddo's.  I thought they turned out pretty stinkin' cute and just incase you need ideas too, here they are.


Healthy Halloween Witch Fingers

Here is what you will need:

string cheese (I wanted to make about 20 so I needed 10 cheese sticks)
a paring knife
some sparkle gel frosting
a clean paint brush


Now take your cheese sticks and cut them in half...


ok, time to start cutting in your knuckles.  

I promise, this really takes less time than you think.  I had 20 fingers done in less than 10 minutes.  


Next slice a small portion off the top where you want the fingernail to be.  


And finally it is time to start painting them. Place a small amount of gel in the fingernail space and paint it on where you want.  


 And done, see, I think the kids in class are going to get a kick out of them.  And they are healthy.  You don't have to feel bad about what you are feeding them in the middle of the day.  They are going to get plenty of candy, like they really need it in the middle of the day too!


And there you have it.  They really are not all that time consuming and turned out super cute!  And once again, your little one will thing you are awesome, amazing, Super Mom!

Thanks for stopping by everyone, come back and visit us again soon,

 -Sarah

 We love that you stopped by and cant wait to see you again soon! If you liked Yuen Yarn, check out some of our older posts, Like us on Facebook, Follow Me on Pinterest ,visit our ETSY shop or come see our website www.yuenyarn.com.

Wednesday, March 5, 2014

DIY Antiseptic Ointment

DIY 'Neosporin' Type Ointment

You are seriously going to love this recipe.  I know I do!  I haven't bought Neosporin in ages.


This stuff works great on all sorts of cuts, bruises, scrapes and any other minor injury you can think of.  I even love it for dry cracked hands and feet.

so without further ado, here it is….

You will need:
1/3 cup beeswax
1 cup olive, almond or coconut butter (I used olive oil)
1/4 top Vit E
15 drops tea tree oil
15 drops lavender
15 drops lemon
(and I added 15 drops eucalyptus also) but that is optional


Melt the oil, beeswax and Vit E over low heat until completely melted.


Completely melted…. be patient grasshopper…


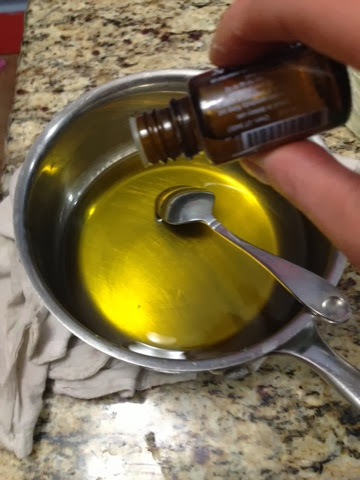
OK, now remove from heat and add your Essential Oils.


Put in a cute container and done.  This is one I had leftover in the basement.  (An old Nutella container.)


Ta-Da!  done-ski…


The lemon, lavender, tea tree and eucalyptus are all known for their antibiotic, antiseptic, and healing properties.


Thanks for stopping by everyone, come back and visit us again soon,

 -Sarah

 We love that you stopped by and cant wait to see you again soon! If you liked Yuen Yarn, check out some of our older posts, Like us on FacebookFollow Me on Pinterest ,visit our ETSY shop, follow us on Instagram, follow us on twitter, or come see our website www.yuenyarn.com.

Monday, January 27, 2014

More Activities With Kids

More kids activities… aka what to do with them all winter long


How about making painted foot prints.  My kids love doing this.  There is something extra special about getting to paint body parts and stick them on paper.  Now with this one make sure you are using washable paints, this little project will get messy.  But that is ok, throw them outside this summer, let them paint their entire bodies, then hose them off with the sprinkler before they come in.


Here you can see I just did a couple foot prints but by the end they were covered head to toe.


Now the real trick is to see if you can get them to make a nice foot print, they usually turn out like this one.  

Plus I like to keep a couple of these a year.  If you date them, it is fun for the kids to see the difference in their foot sizes on paper.  


Thanks for stopping by everyone, come back and visit us again soon,

 -Sarah

 We love that you stopped by and cant wait to see you again soon! If you liked Yuen Yarn, check out some of our older posts, Like us on FacebookFollow Me on Pinterest ,visit our ETSY shop, follow us on Instagram, follow us on twitter, or come see our website www.yuenyarn.com.

Saturday, January 25, 2014

DIY Glitter Crayons

Re-cycled Glitter Crayons

How Fun, right?!         GLITTER!!!!!!       I don't think you can go wrong with glitter.


These were so fun and easy to make.  And I was happy to get all those old crayon pieces out of a bucket!  The kids really liked helping with this project too!


Well, in this picture you can't really see all the broken piece, They are all probably at the bottom.  At any rate, all you need is some old crayons, an oven safe pan, any shape will do, and your oven!


These are actually ice cube trays, I wasn't sure how they would hold up but they did great since the oven is at such a low temp.


Oh yeah, and glitter of course.  You have to have glitter, right?!


So, peel all the paper off your crayons…


Place your crayons in your molds...


sprinkle with glitter and place in a 200˚ oven for about 10 minutes.


Or until they are all melty, like this...


You could sprinkle some glitter on top as they start to harden too.


And another 10 minutes later you can pop them out of the trays and you have glitter crayons.  You can give them away as gifts or keep them for yourself. 


Aren't they cute!


I loved how they turned out and the kids love using them as well!  


Thanks for stopping by everyone, come back and visit us again soon,

 -Sarah

 We love that you stopped by and cant wait to see you again soon! If you liked Yuen Yarn, check out some of our older posts, Like us on FacebookFollow Me on Pinterest ,visit our ETSY shop, follow us on Instagram, follow us on twitter, or come see our website www.yuenyarn.com.

Monday, December 2, 2013

DIY Dandelion Wall Decoration For The Living Room

DIY Canvas wall painting...


This is so easy, anyone can do this!  No painting skills required.

All you are going to need is 3 canvases, and some blue, yellow and white paint (I didn't have the colors I wanted so I ended up mixing a few together.)


So first, paint all three canvases blue...


Now with the white or yellow draw a curved line on one of the canvases for the stem with a circle at the top.


Now for the floaty bits…  Start adding stars all around the circle and drifting away across all three canvases.  


Here is another view, a little closer this time.  See, I just made a 'Y' shape with an extra line in the middle.


And they start floating away.  Add a couple, take a step back, see if you like it, add a couple more, check where there are more needed, until you are happy with it!


See, how simple, and you are going to LOVE it!  


Thanks for stopping by everyone, come back and visit us again soon,

 -Sarah

 We love that you stopped by and cant wait to see you again soon! If you liked Yuen Yarn, check out some of our older posts, Like us on FacebookFollow Me on Pinterest ,visit our ETSY shop, follow us on Instagram, follow us on twitter, or come see our website www.yuenyarn.com.